I spent Friday evening making a mess changing the oil on my 2009 Mitsubishi Outlander. This was my first DIY oil change on the vehicle. Below are some notes and photos specific to the Outlander, in general it’s very similar to other vehicles but hopefully this can help some others get started. Any questions or comments post below in the comment section.
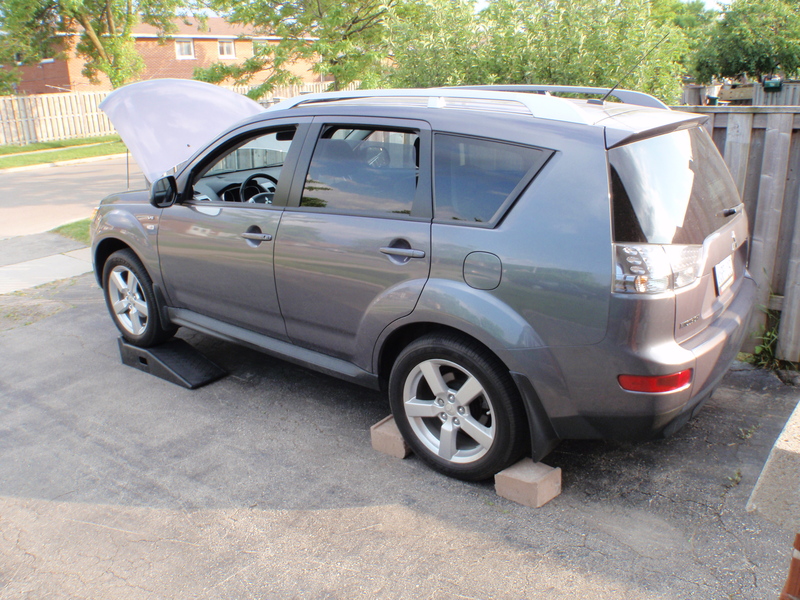
I use ramps to raise the vehicle enough to do the oil change. You could easily reach the drain pan plug but since I prefer to drain hot oil to get the most contaminants out that means I’m working around the hot exhaust manifold and pipe. It’s an easier job if you elevate the front of the vehicle.

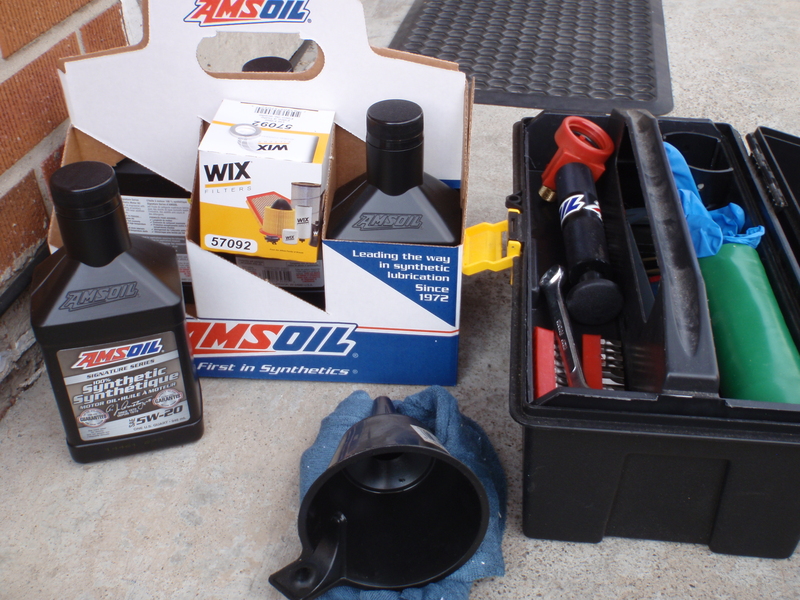
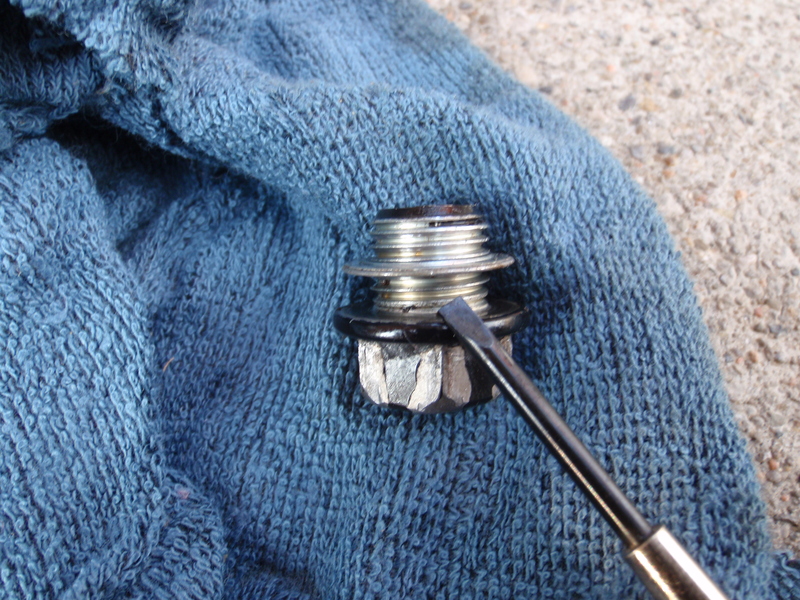
You’ll need a large oil catch pan and a 17mm wrench for the drain bolt. Get a new crush washer mine was completely compressed. I used a generic solid aluminum one from NAPA instead of the Mitsubishi crush washer which is a fancy metal part that is a bent and folded circular tube that compresses flat.
I made the mistake of trying to use a smaller catch pan for the oil filter while the large catch pan was still draining the crank case oil. Don’t do this since you’ll probably just make a mess like I did. Use your largest catch pan for the oil filter removal.
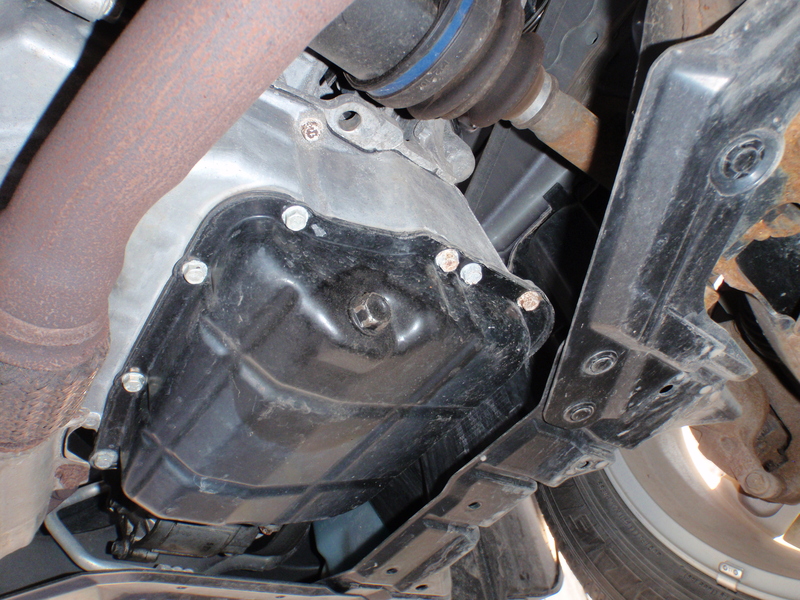
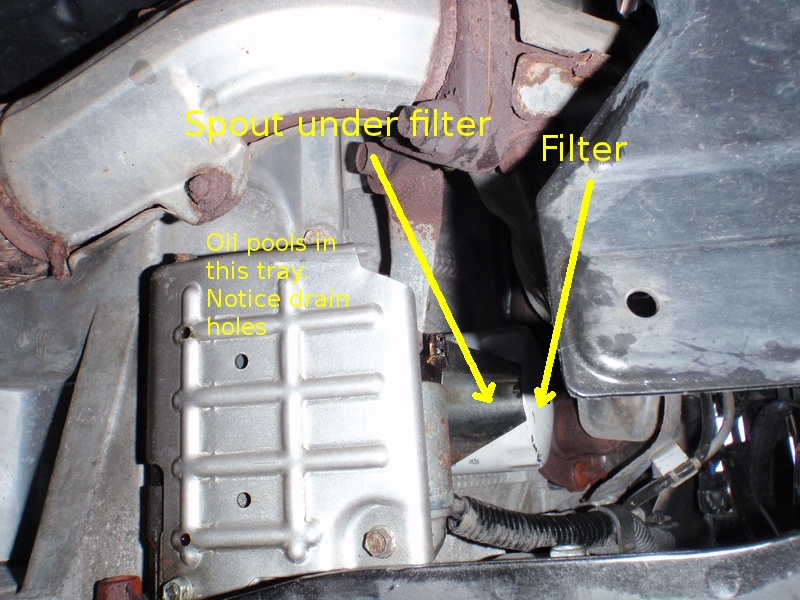
The oil filter is a huge pain to remove as it is mounted horizontally on the front of the engine right by the exhaust manifold pointing towards the front radiator. You’ll see the drain spigot that tries to funnel the oil away from the starter in the photo. After finally getting an end cap wrench on the filter and breaking it free I spun it by hand until it started dribbling out oil. Then I got impatient and spun it off some more and it gushed all over the starter below it and everywhere. The spout cannot handle the full capacity of the filter coming out quickly.

If anyone has good tips for horizontal oil filters in a confined space over top of another part I’d love to hear them – post in the comments below. A quick search online said to try the slow dribble method. Another suggests after you break the filter loose from the block puncturing the filter housing and letting it drain. I’d prefer not to do that since you could possibly hit the threads that hold on the filter. Plus you’ll still get oil all up your arm as the filter is a good 6″ to 8″ above the lower skid plates.
I found it a lot easier to shift my head further towards the center of the car and then torque on the filter by hand. This body placement is more comfortable for getting around the plastic skid plate instead of trying to work overhead. The only problem is you need to work by feel as you won’t be able to see what you’re doing up by the engine.
I couldn’t visually check for a double gasket on the sealing flange so I had to feel around until I was sure it was clean of the old filter gasket.
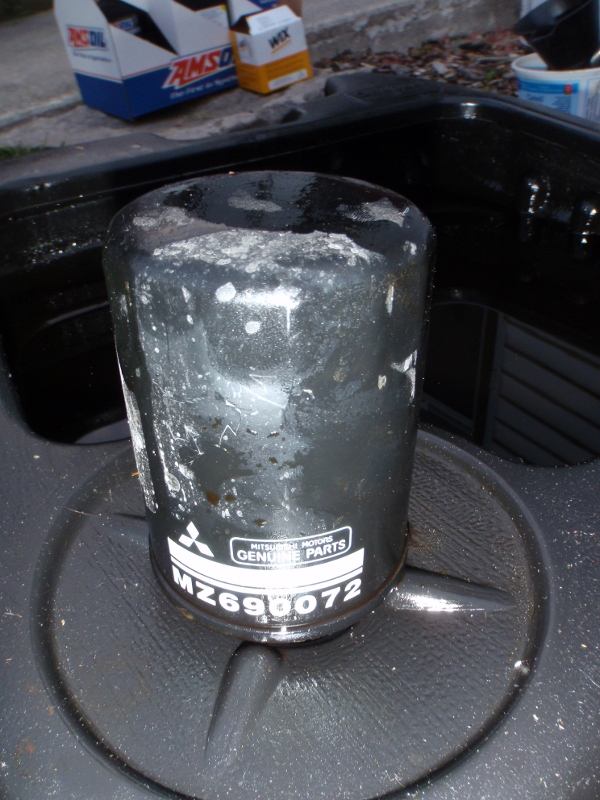
The genuine Mitsubishi filter that came off was smaller in diameter but a bit longer than the WIX I put on – it looked similar to the AMSOIL EAO15K13 filter. I realized I don’t have an end cap filter wrench that will fit that WIX so I’ll have to pick one up for the next oil change.
I put in 4.5 quarts of Signature Series 5W-20 ALM.
It is next to impossible to read the dipstick level accurately on the Outlander with all the twists and bends in it. My level was definitely above both holes after I started the vehicle for 20 seconds to fill the oil filter. I drained out just under 5 quarts and spilled a bunch on the driveway. When I would bring in my own oil to the dealership they would install all 5 quarts I brought so I can only assume my Outlander has been overfilled for most of her life. Probably not enough to hurt anything but still overfilled.
Nice.
I don’t even drive up on the ramps, the Outlander sits high enough for me to simply crawl under the front and do the oil change.